Craft Supply Storage Dresser | organizational ideas #michaelsmakers
posted by
Craft Supply Storage Dresser ~ organizational ideas #michaelsmakers | Right before the end of last year we began the process of finishing our basement.
When we first moved in a large portion of the basement was dedicated to a craft room workshop of sorts. While the basement was unfinished I was pretty excited at the time to have a space to lay out all of my crafting supplies. I wish I could say I used the space but honestly over the past couple of years the space has just become a large ‘storage’ area. If I needed to work on a project I would head down to the workshop, gather the supplies I needed, then head back up to our dining room table – which would then become my workspace.
This winter we finally decided it was time to tear apart the basement and transform the space to better fit our current needs. The first step in this process was to clean, sort, purge, and organize that crafting area of mine.
One of the biggest challenges was finding a way to keep all my crafting essentials easily accessible and organized during this whole construction phase.
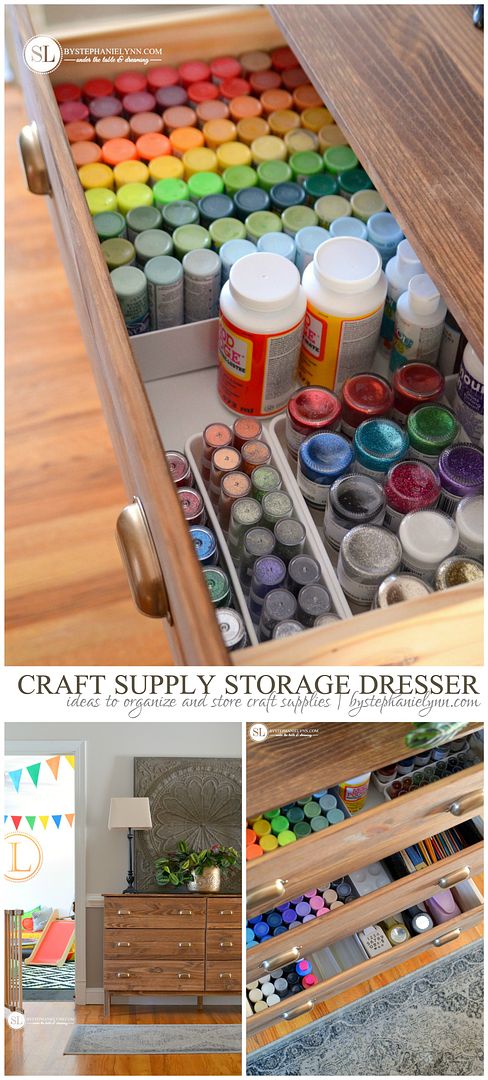
As a solution I decided to take advantage of some open space in our hallway. Since our hallways are wide I had always envisioned adding some storage pieces to the space. This was the perfect opportunity to make it happen while creating a home for some of my crafting essentials.
This Craft Supply Storage Dresser was created for the Michaels Makers January theme of craft resolutions and storage solutions. Many of storage products used to organize this dresser, along with the crafting supplies themselves, can be picked up right at your local Michaels.
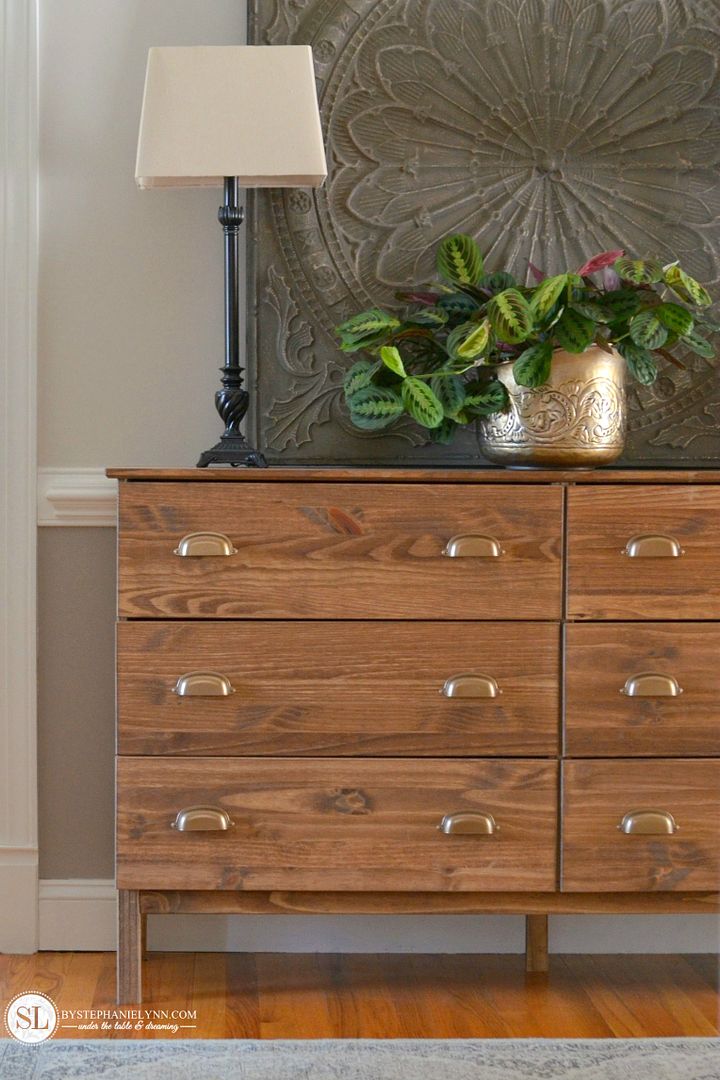
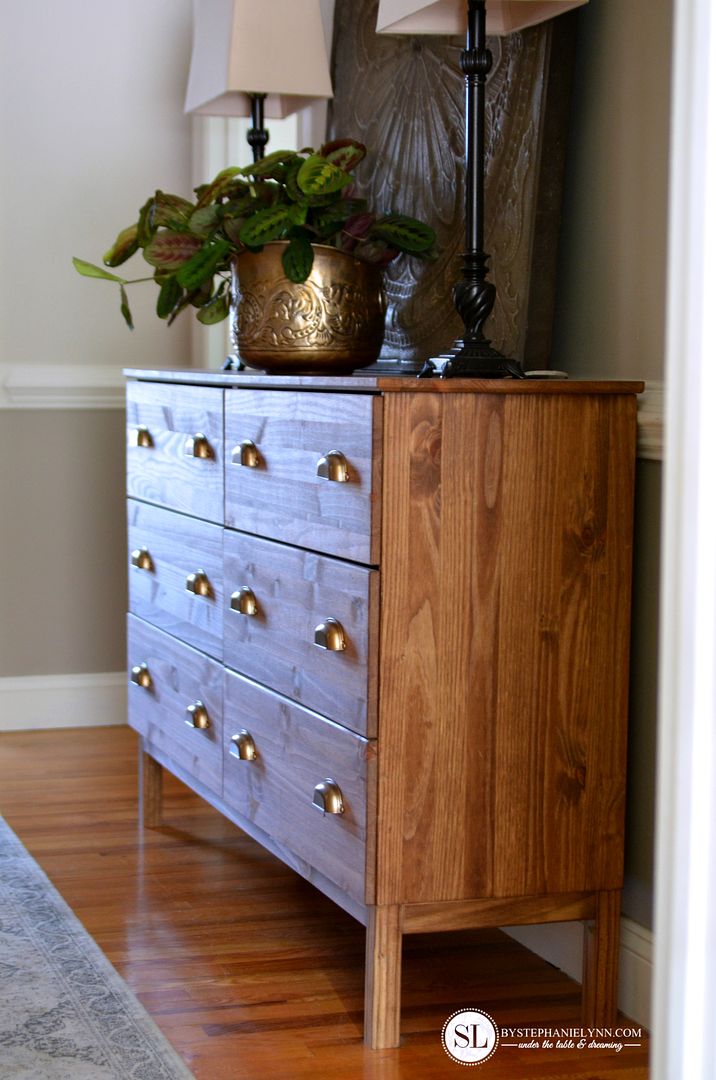
I started this project with the simple, unfinished Tarva dresser. The slender depth makes it a perfect fit for the unused space in the hallway.
I added a few coats of stain and some new hardware – though I still have some work left before it is complete. (The wood really needs to be sealed)
Prior to putting together a plan for the drawers I drew up a little cheat sheet that contained the drawer measurements and dimensions – plus a list of items that I wanted to fit in the dresser. Having a little cheat sheet really helps when you are shopping as it takes the guessing out of whether something is going to fit or not.
The key to storing supplies in a dresser is (1) corralling items in containers and bins and (2) packing the supplies so they fit snug into the drawer. This prevents the supplies from moving around and keeps them upright and organized.

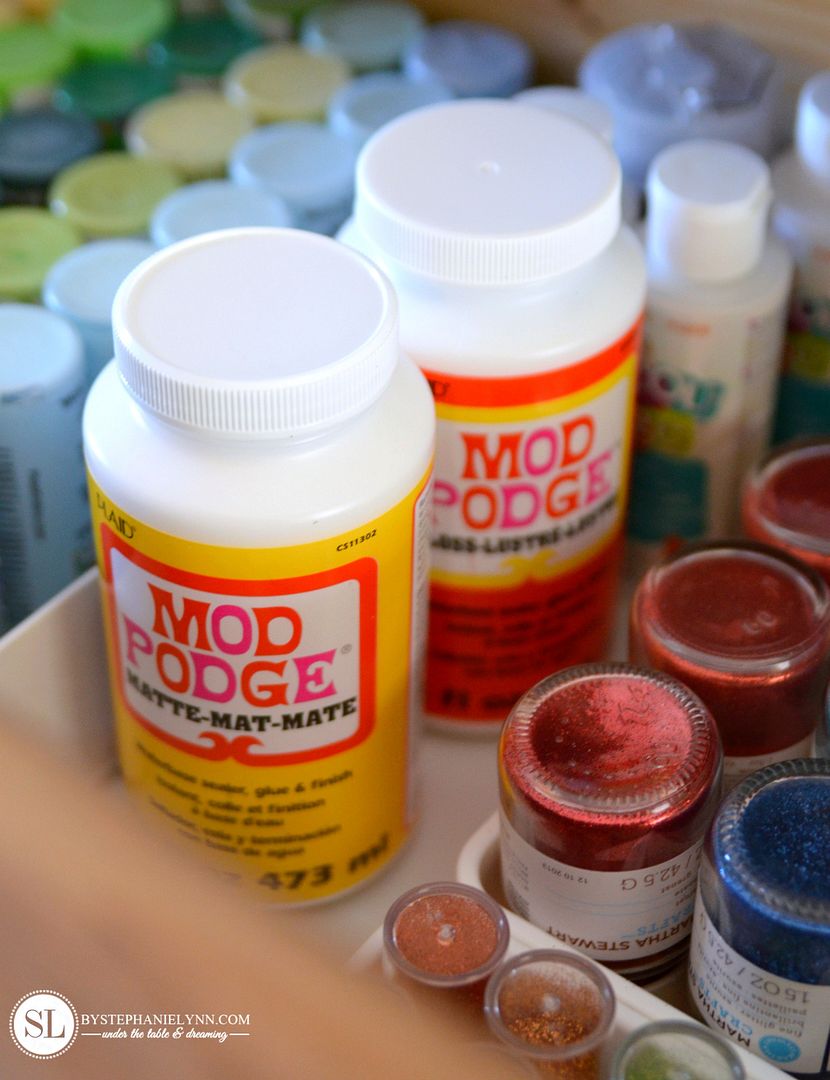
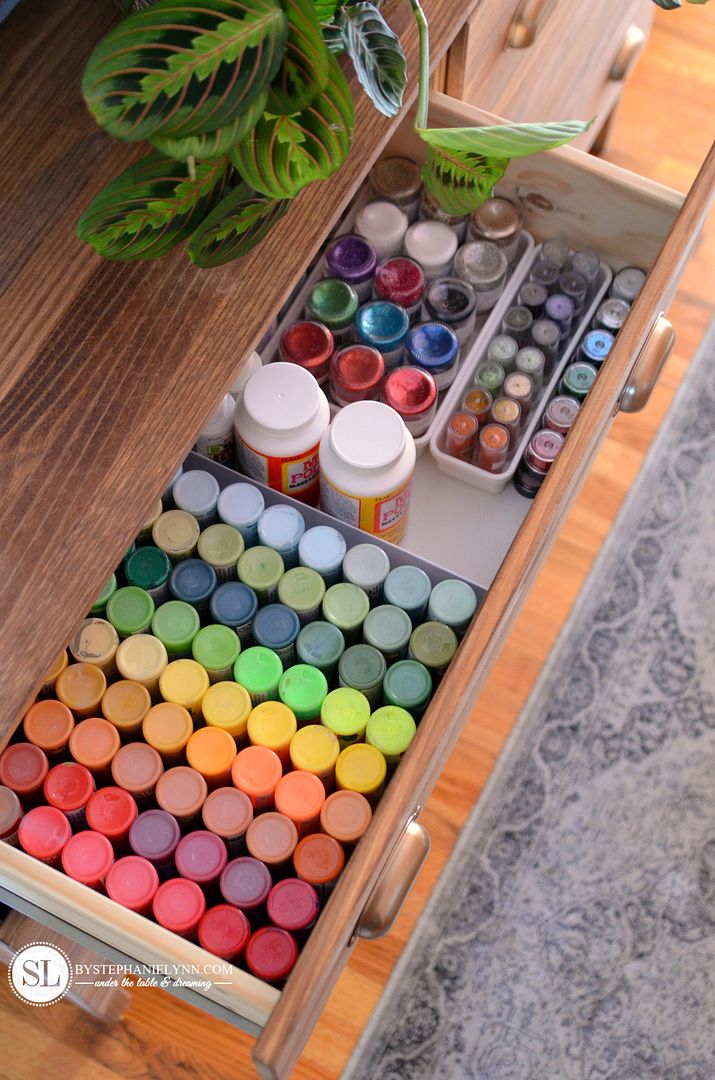
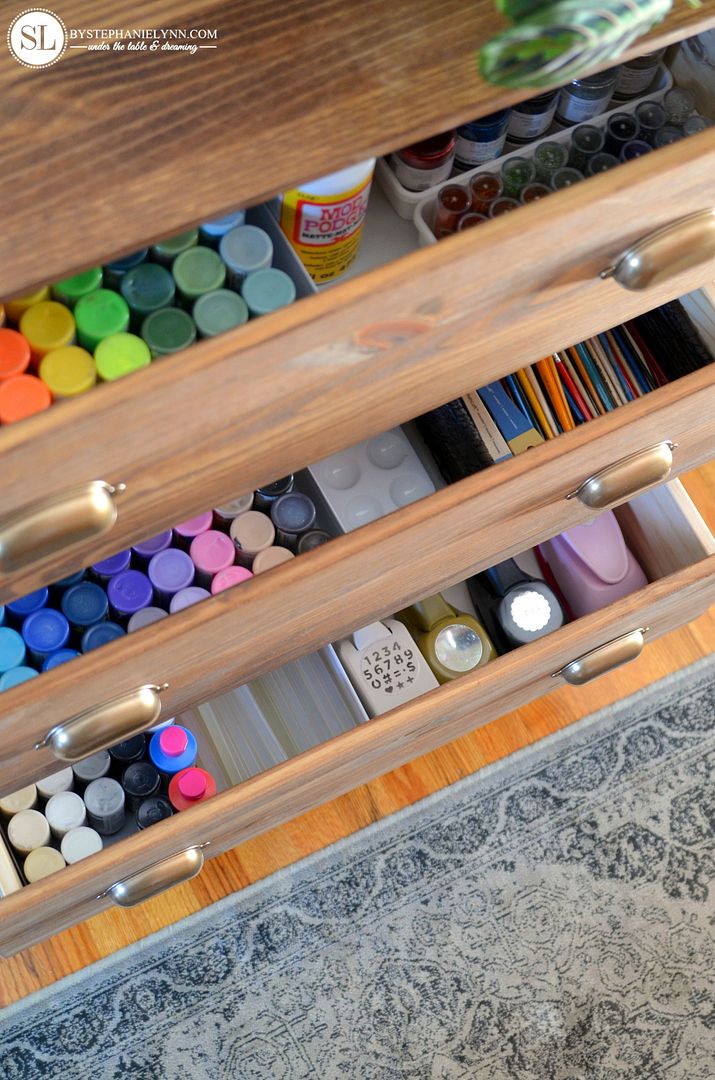
Drawer One – Acrylic Paint, Mod Podge, Decoupage, Etching Creams, Glitter, & Flocking Powders

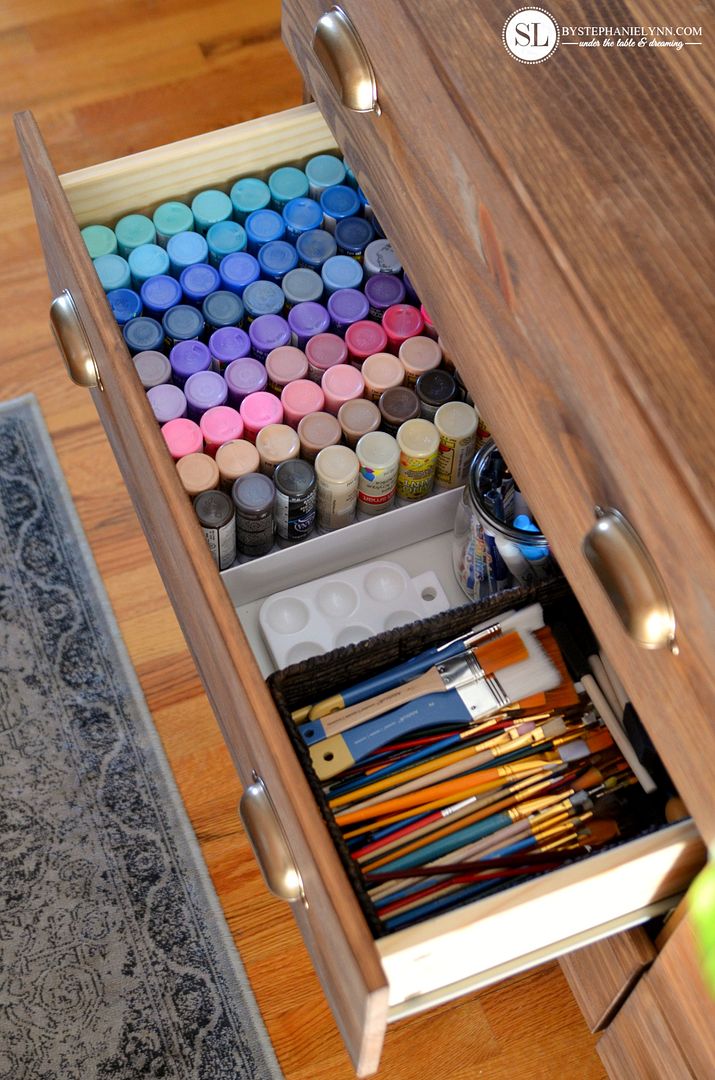
Paper Storage Boxes were used to corral the acrylic paints. The 12×12 boxes fit perfectly in the drawers and help keep the bottles from moving around and falling over. Each box holds 48 bottles of paint so I split up the acrylics I had on hand into three separate drawers.

Drawer Two – Acrylic Paint, Paint Pens, Paint Palettes, Foam Applicators, & Paint Brushes


Glass jars and canisters are perfect for smaller items – like this Hermes Jar used for the paint pens. I simply removed the lid so it would fit in the drawer.
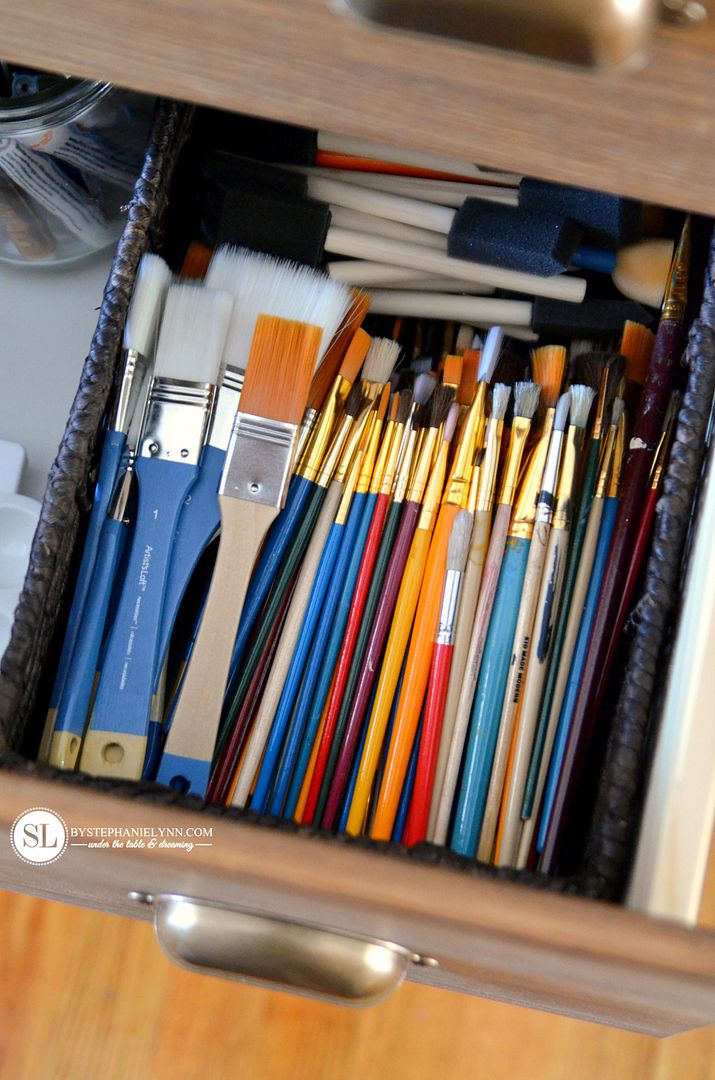
And you can never go wrong with baskets. This basket fits the dimensions of the drawer perfectly and creates a organized space for the brushes and foam applicators


Drawer Three – Acrylic Paint, Speciality Paint Mediums, Fabric Paint, Hot Glue Sticks, Punches, Decorative Scissors, & Hand Punches


Here is close up photo of the Paper Storage Boxes. The 2.5″ depth is just enough to contain the acrylic paints perfectly inside the drawer. The extra space in the last box worked out to stored the glue sticks.
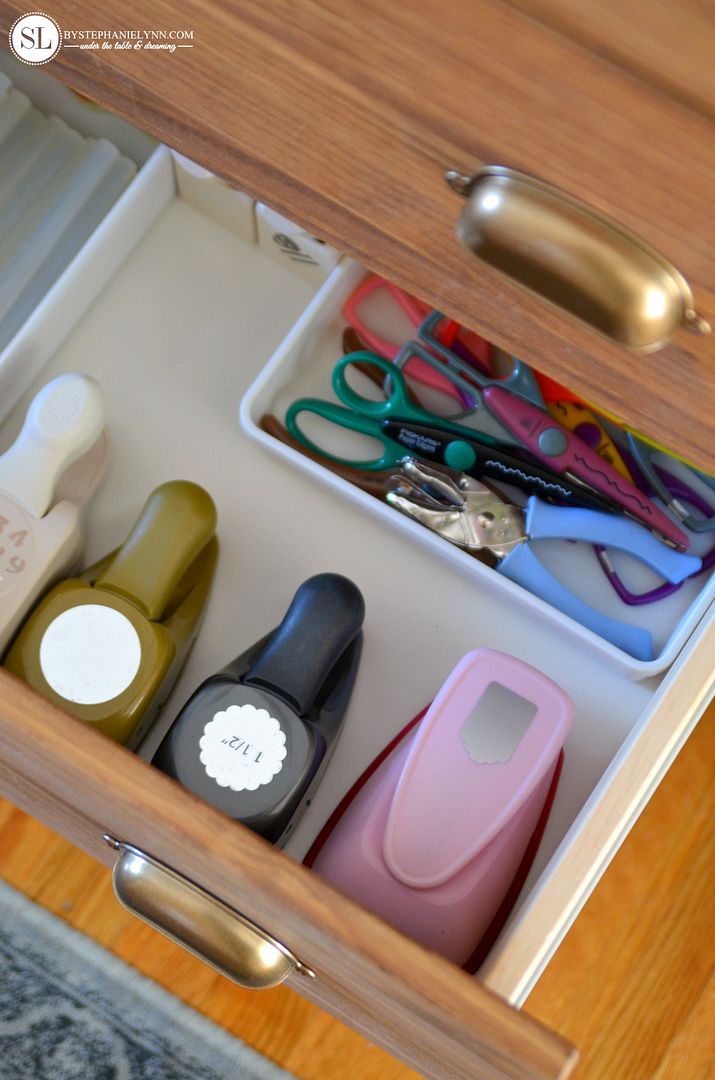


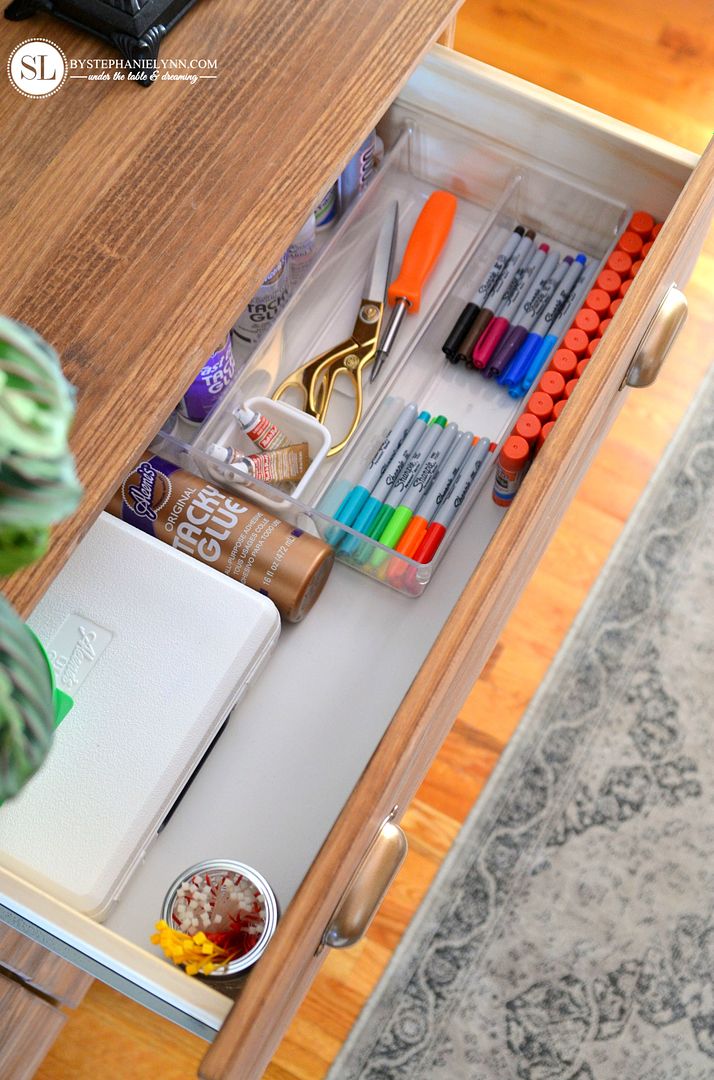
Drawer Four – Glue Gun, Crafting Glues, Painter’s Tape, Wire Ties, Rub ‘n Buff, Scissors, Screwdriver, Sharpie Markers, & Glue Sticks


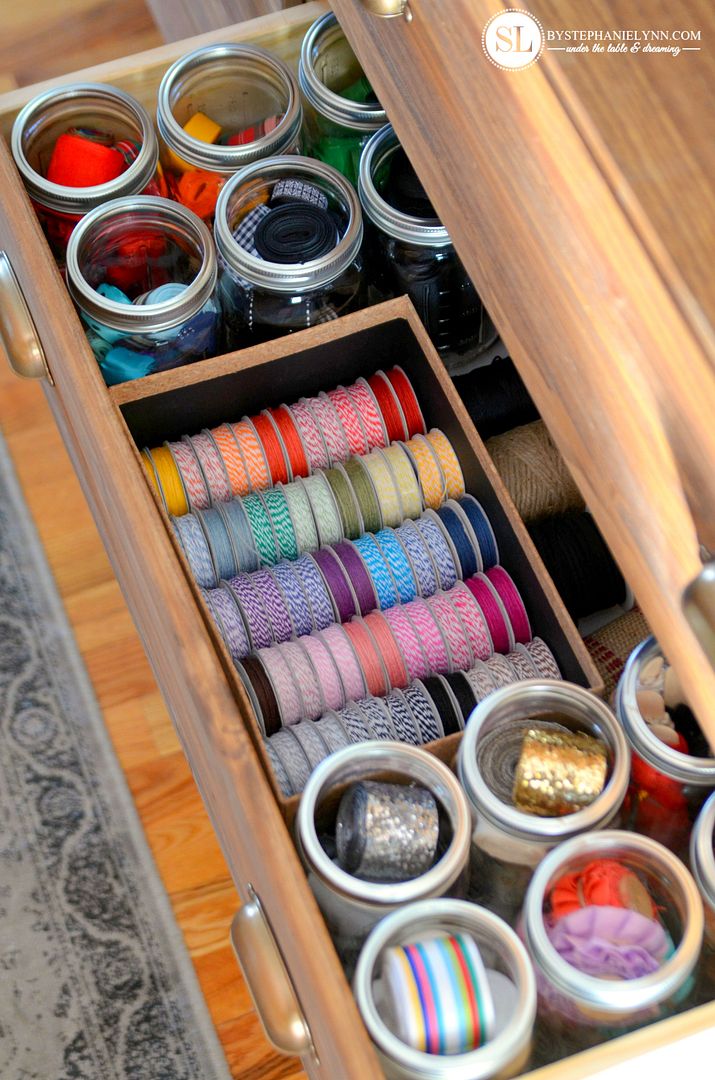
Drawer Five – Ribbon, Trim, & Twine

Organizing all of my ribbon is one project I have been wanting to do for awhile.

First, each piece of ribbon was rolled into a nice bundle using a jumbo craft stick. The stick was simply used as a guide to keep the ribbon taut and evenly rolled.
Once the ribbon was completely wrapped, the ends were secured using applique sequin pins, and the rolls were gently removed from the stick.

The jumbo craft sticks were used for the trimmings as well. I simply left these on the sticks and tucked them in a mason jar.

For easy access the center lid was removed from each of the jars.

A Memory Box was added to the center of the drawer for additional storage and to keep the jars from sliding around.

For now the box nicely displays several rolls of twine.


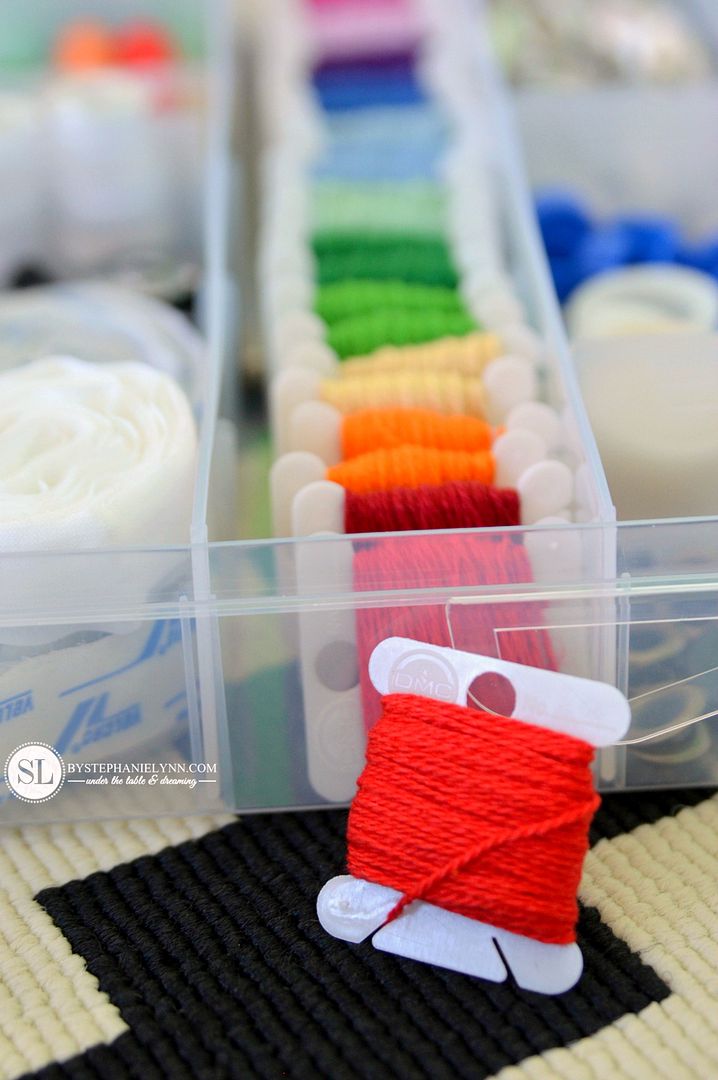
Drawer Six – Thread & Bobbins, Sewing Pins, Sewing Notions, Oven Bake Clay, & Crafting Tidbits

Storage boxes were used to contain a majority of the small crafting tidbits and sewing notions I had. The boxes I used were found in-store and are very similar to these Bead Landing™ boxes but are a bit bigger.
Each box measures 13.5″ X 8.5″ X 1.75″ and has removable dividers so the interior can be configured as needed.

One box was dedicated to small sewing notions.
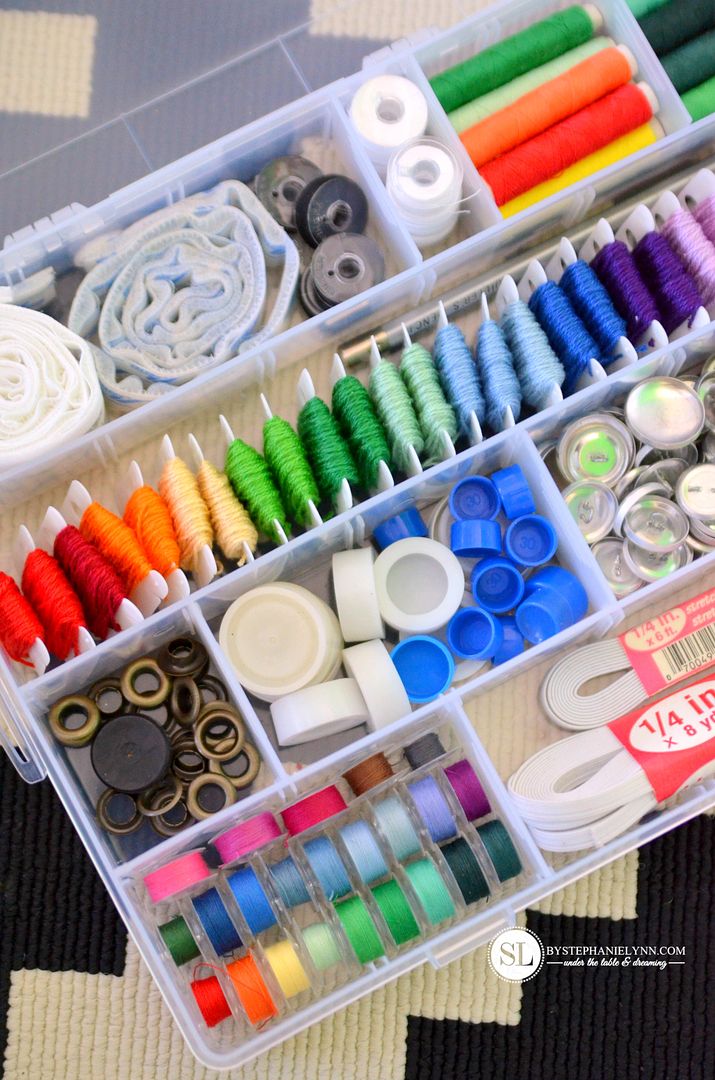

I used another box to store oven baked clay along with some beads and wood turnings.

And the last box to sort and store more miscellaneous crafting tidbits.


I used some additional Wide Mouth Mason Jars to hold a few extra items in this drawer – like buttons, no-sew fusible web tape, & crafting wire.


I’m loving the new set up and really like the fact that my crafting essentials are easily accessible and right on our main living level for the time being. I am currently working on a second dresser for my paper crafting storage.
Due to the limited room in the dresser everything is pretty well organized in the drawers. This helps me tremendously keep everything in order – especially since everything has its own place.







I’m hoping we’ll be set through the construction phase with the Craft Supply Dressers and CJ’s Art Supply Cart we made last summer.
If anything at least we are one step closer to our craft resolutions for 2015.




ไม่มีความคิดเห็น:
แสดงความคิดเห็น