Recycling : Soda bottle green house
.


 View in gallery
 View in gallery
 View in gallery
 View in gallery
 View in gallery
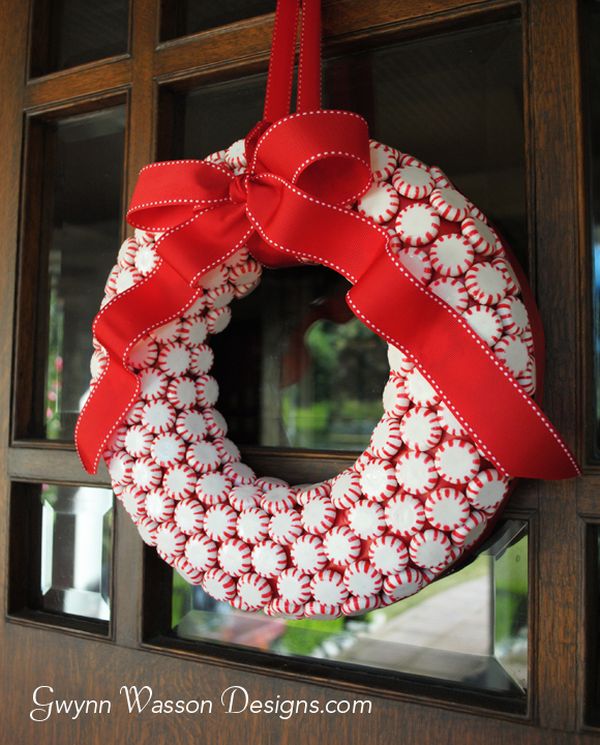 View in gallery
 View in gallery
 View in gallery
 View in gallery
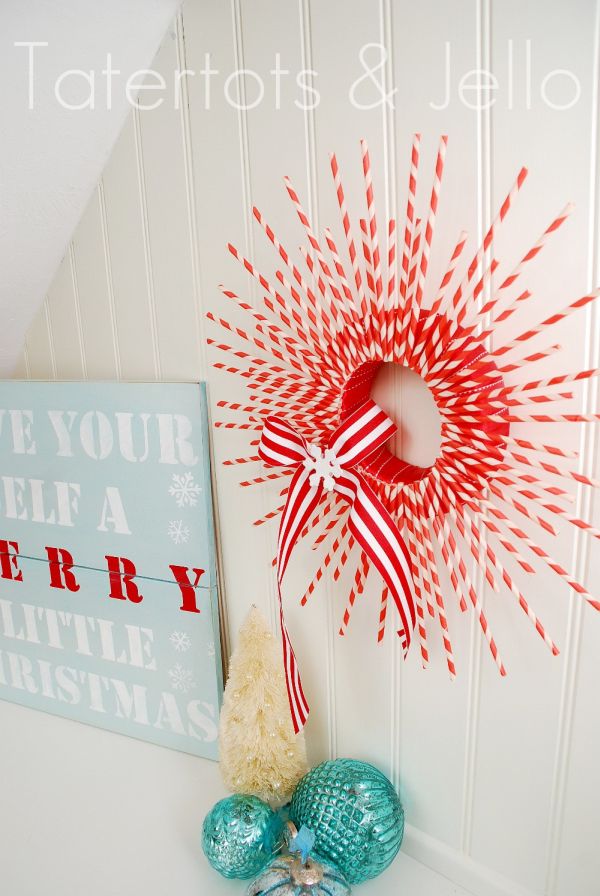 View in gallery
 View in gallery
 View in gallery
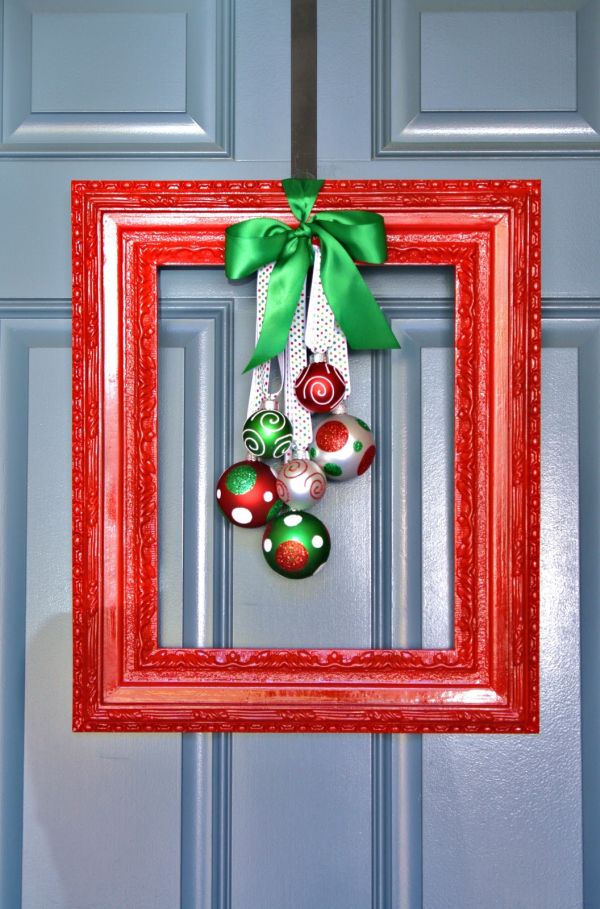 View in gallery
 View in gallery
 View in gallery
 View in gallery
 View in gallery
 View in gallery


 ที่มา: www.momtastic.com